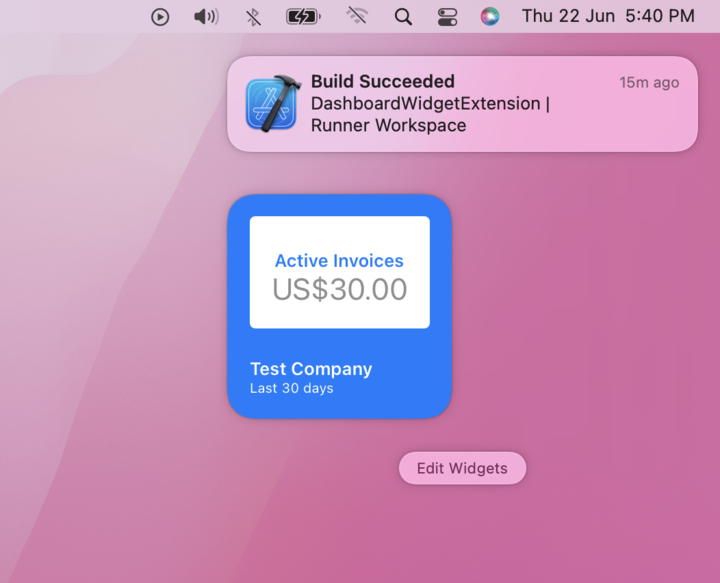
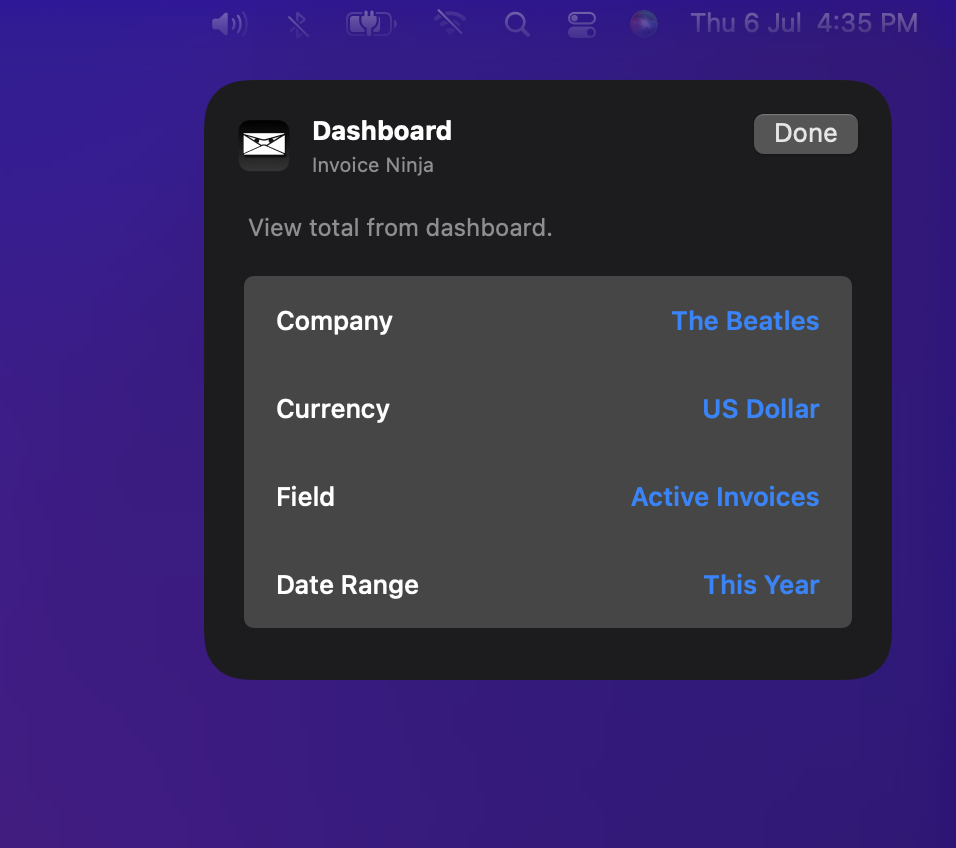
I recently spent some time developing a desktop widget for the Invoice Ninja macOS app, I thought it may be helpful to write a blog post sharing my experience. This won’t be a step-by-step guide, more a review of some of the resources I found useful along the way. For a full guide I recommend this article or video.
Motivation
The main reason for building the widget was to add a useful feature to our app, however I was also interested in having a chance to try out Swift UI. It’d be great if it were possible to build the widget using just Flutter however sadly that isn’t the case. Instead, you can use a package to share data from the Flutter app to the widget and then implement the UI using Swift UI. For our implementation we’re using the widget_kit_plugin package, but I recently came across the home_widget package which also supports Android.
ChatGPT
This was my first time coding in Swift, I found ChatGPT incredibly helpful in getting me up to speed. Here are some use cases which worked particularly well:
- Explaining basic concepts in Swift
- Converting sample JSON to Swift data classes
- Refactoring my poorly written Swift code
- Converting Dart code to Swift code
That said using ChatGPT wasn’t without its challenges, around half of the code it generated had errors. I could feed it back the error and it would politely apologize and try again but I often got stuck in loops which ended in frustration.
SwiftUI
To get up to speed with building the UI for widgets I found the WWDC videos to be extremely helpful, in particular Build SwiftUI views for widgets. If you watch the video you may notice our widget design looks conspicuously similar to the design implemented in the video.

For the widget configuration although it’s covered in the Apple docs this article “How to Create Configurable Widgets With Dynamic Options” on swiftsenpai.com provides a much easier to follow guide walking through the implementation.

The Swift code for the widget is available on GitHub. As mentioned above this was my first time coding in Swift so try not to judge me too harshly. I’m sure I’ve made many rookie mistakes even with ChatGPT helping along the way. One interesting trick I came across was to use extensions to make it possible to throw any string as an error. This makes the behavior more similar to Dart.
Xcode
In general Xcode worked well however one issue I ran into is that sometimes changes made to the code weren’t reflected when relaunching the widget. I found the following steps would resolve the issue:
- Click the widget to launch the Flutter app
- Right click the app icon in the dock and select Options > Show in Finder
- Close the Flutter app
- Delete the app
- Repeat until the widget disappears
Final Thoughts
On the whole I really enjoyed developing with SwiftUI. There’s noticeably less boilerplate code (as can be seen in this comparison site) and as one would expect there’s a much tighter integration between the software and hardware than with a cross platform solution. For example, to ensure sensitive data isn’t visible when the phone is locked you can simply add .privacySensitive() to the Text field.
Another area I appreciated was that SwiftUI made it simple to design nice layouts without too much effort. Examples of this are the ability to use .padding(.all) to add a standard amount of padding to all sides or the ability to use ContainerRelativeShape() to ensure the borders radius of nested elements match their parent container.
Although Swift is a great language and SwiftUI is an elegant framework they have one obvious critical flaw, they only support Apple’s platforms. From a business/costs perspective this puts it at a major disadvantage compared to cross platform solutions like Flutter. We’re able to ship high quality apps for Windows, macOS, Linux, Android and iOS from a single codebase, SwiftUI would only cover two of those platforms.